Page Numbers
Intro
In ancoreShare, the Page Numbers element offers a flexible way to add pagination to your report, positioned at either the top or bottom of each page to serve as a header or footer. You can customize the appearance, including font, color, and positioning. Additionally, you can use a Qlik Expression to enrich the footer with other details, such as copyright information, the date, or metadata from your report.
Any other report element can also be set to repeat on each page and positioned freely, enabling you to create consistent headers and footers throughout your report. For a deeper look into designing complex headers and footers using additional elements, see Positioning and Sizing Elements.
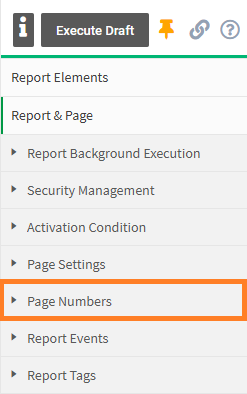
General Settings
Use the following settings to configure basic options for page numbers in your report.
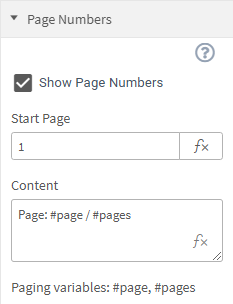
- Enable Page Numbers: Use this checkbox to enable or disable page numbers across your report.
- Start Page: Specify on which page the page numbers should begin displaying. For example, setting the start page to 2 will hide the page number on the first page, providing a clean look for covers or title pages, while still counting from page 1 and maintaining accurate numbering throughout the report.
- Content: Set the text content for the page numbers section, using the paging variables #page and #pages to display the current page number and total page count. This field also supports Qlik expressions for added customization.
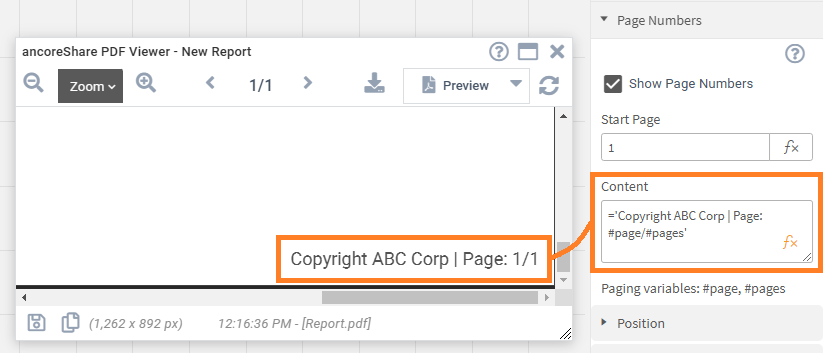
Example: Click on the fx icon to open the expression editor and copy/paste the following example.
='Copyright ABC Corp | Page: #page/#pages'
Result:
Position
Use the following options to set the display location and alignment of page numbers on each report page.
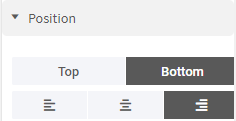
- Top or Bottom: Choose whether to display page numbers at the top or bottom of each report page, creating either a header or footer for pagination.
- Alignment: Select the alignment of page numbers within the section (left, center, or right).
Font
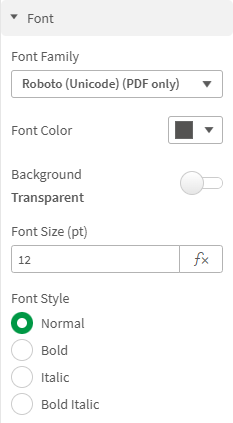
These font properties apply only to the Page Numbers element and any additional text content within this element. Other Text Elements in the report have their own independent font settings, which can be customized separately.
- Font Family: Choose a font for page numbers and any additional text within this element. Some fonts indicate which export formats they support. Specialty fonts like Symbol are available for cases where icons or unique characters are needed.
- Font Color: Set the color of the font.
- Background: Toggle between a transparent and filled background (default is transparent). If filled, an additional property appears to select a Background Color. This is useful for creating headers or footers combined with other report elements, preventing overlay issues.
- Font Size: Adjust the font size, in points (pt).
- Font Style: Choose from Normal, Bold, Italic, or Bold Italic.
Some fonts can only be applied to specific export formats.
Margin
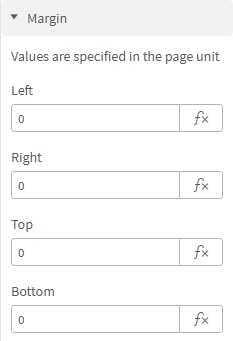
The Margin settings define the space surrounding the page numbers element, creating separation from other elements on the page. You can set individual values for the left, right, top, and bottom margins, allowing precise control over the element's placement.
Values are specified according to the selected page unit, which can be set in the Page Unit under Page Settings (default is millimeter).
Padding
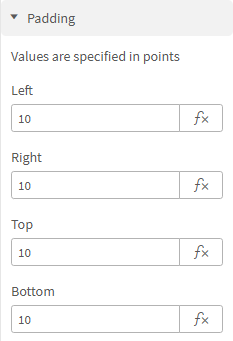
The Padding settings control the space inside the page numbers element, providing a buffer between the element's outer edge and the text content within it. By adjusting the padding for the left, right, top, and bottom, you can fine-tune the positioning of text within the element. Padding values are specified in points (pt).
Border
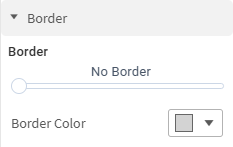
The Border settings allow you to adjust the border around the page numbers element. Use the slider to set the border width from 0 (no border) up to 15 points (pt). Below, a color picker is available to select the border color, enabling you to match the border to your report's style.
Adding a visible border while designing a header or footer with the page numbers element can be very helpful. This makes it easier to see the exact boundaries of the section on the report page, allowing for more precise alignment with other elements.
Next Steps
- Learn more about how to position other elements in headers and footers
- Make use of the Preview Window while designing and creating reports
- Or explore sharing and deployment options for your report